Dreaming of chip-free nails but worried about the hassle of how to remove gel nail polish at home? No doubt gel manicures are the undisputed champs when it comes to long-lasting, high-shine results. However, this extended wear can come at a cost. Gel polish can be tough on your nails, leaving them dry, brittle, and prone to breakage.
So what’s the ideal scenario? A trip to the nail salon for professional UV gel manicure removal? After all, trained manicurists have the expertise and tools to ensure a safe and damage-free process. But let’s be honest, scheduling an appointment isn’t always realistic. Between busy schedules and tight budgets, sometimes we need a DIY solution. The good news is, that with the right tools, and a little patience, you can safely remove gel nail polish at home.
Why Gel Nails Removal is Challenging
True gel nails involve multiple layers cured under a UV or LED light. This curing process makes the polish harder to remove compared to traditional polish.
Here Is The List You Will Need To Remove Gel Nail Polish
- Nail file.
- Acetone nail polish remover.
- Polish remover for gel nails.
- Orangewood stick or cuticle pusher.
- Cuticle oil or petroleum jelly.
- Cotton balls (optional).
- Aluminum foil.
- Nail buffer.
2 Ways to Remove Gel Nails
- The Soaking Method
- The Wrap-up Method
The Soaking Method: A Step-by-Step Guide
The soaking method is a simple and effective way to remove gel polish at home. It involves softening the polish with acetone nail polish remover before gently scraping it off. Here’s a breakdown of each step for a smooth removal process.
1. Prepare Your Workspace And Gather Supplies
Find a well-ventilated area. Acetone fumes can be strong, so open windows or use a ventilator to improve air circulation. For soaking methods, you will need these supplies:
- Pure Acetone nail polish remover.
- Small bowl.
- Nail file (medium grit 100/180).
- Cuticle oil or petroleum jelly.
- Orangewood stick.
- Nail buffer (optional).
- Moisturizer.
2. Protect Your Skin
Apply cuticle oil or petroleum jelly around your nails and fingertips. This creates a barrier to protect your skin from the drying effects of acetone.
3. Buff Up The Gel Polish
Use the nail file to gently buff the top coat of your gel polish. This removes the shine and creates a rough surface that allows the acetone to penetrate better. Be careful not to file your natural nails underneath the polish.
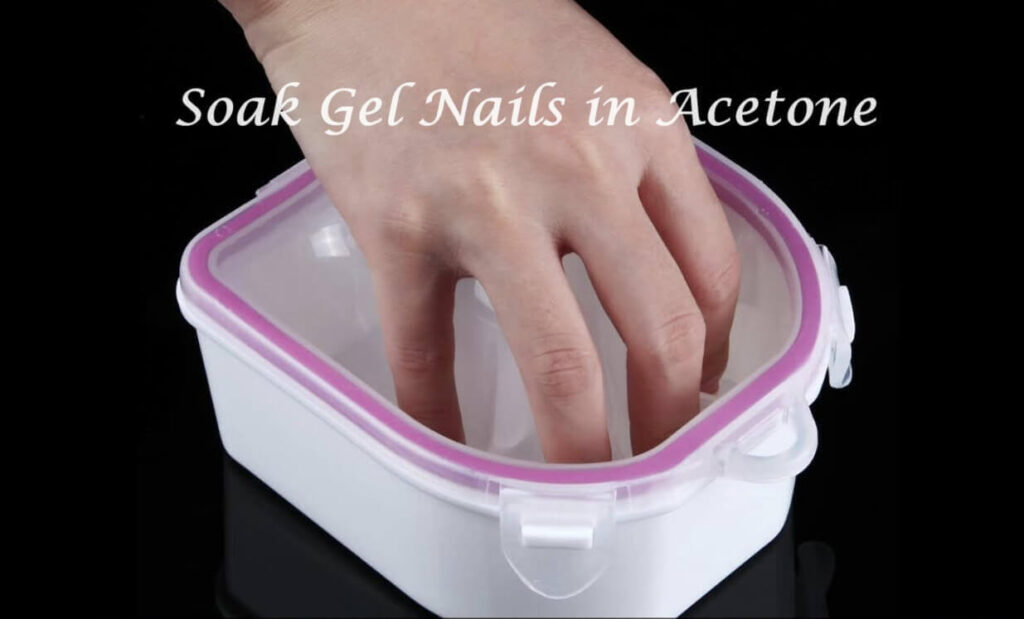
4. Soak Your Fingertips
Pour acetone nail polish remover into the small bowl. Dip your fingertips directly into the acetone, ensuring all your nails are fully submerged.
5. Let The Magic Happen
Sit back and relax for 10-15 minutes. The acetone will start to dissolve the gel polish, making it soft and easier to remove.
6. Check And Remove The Polish
After the soaking time, gently test one fingernail by pushing at the edge of the polish with the orangewood stick. If the polish comes off easily, you’re good to proceed. If not, soak for a few more minutes, checking every few minutes to avoid over-soaking.
Once the polish is softened, use the orangewood stick to gently scrape off the gel polish in a sweeping motion, starting from the base of your nail and working your way toward the tip. Be careful not to scrape too harshly, as this can damage your natural nails.
7. Clean Up And Buff
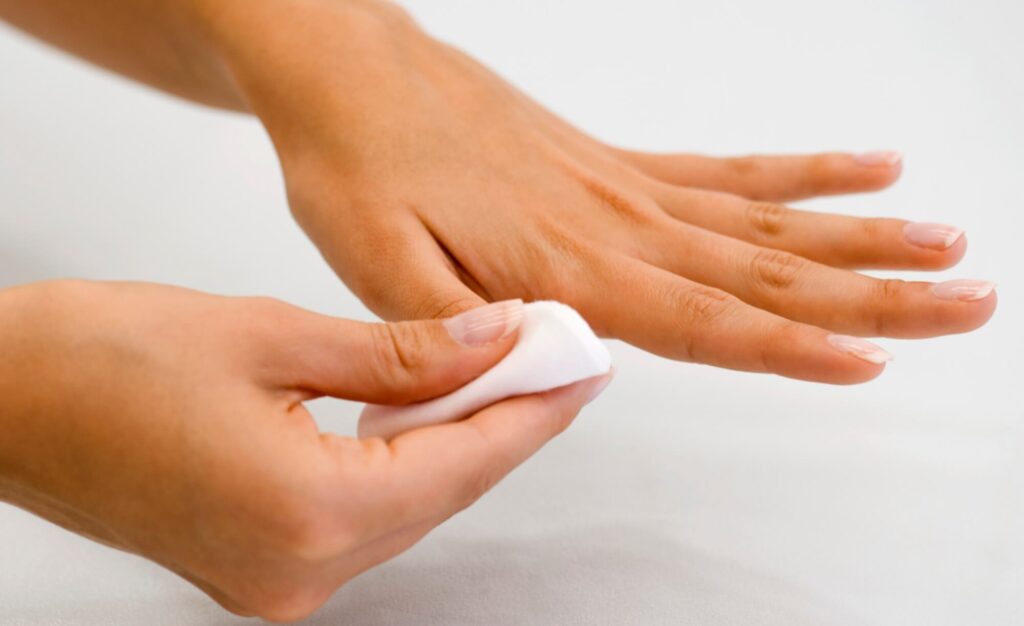
After removing the polish from all your nails, use a cotton swab dipped in acetone to remove any leftover residue. Gently buff your nails with a nail buffer (optional) to smooth out any rough patches left behind by the removal process.
8. Moisturize
Wash your hands with soap and warm water to remove any remaining acetone. Apply cuticle oil generously to your nails and cuticles to rehydrate and nourish them after exposure to acetone.
The Wrap-Up Method: A Step-by-Step Guide
The wrapping method offers a convenient way to remove gel nail polish at home. It utilizes the same principle as the soaking method, but with the added benefit of keeping the acetone concentrated on your nails and minimizing contact with your surrounding skin. Let’s learn the process step by step for a controlled and effective removal process.
1. Prepare Your Workspace And Gather Supplies
Find a well-ventilated area. Acetone fumes can be strong, so open windows or use a ventilator to improve air circulation. For soaking methods, you will need these supplies,
- Pure Acetone nail polish remover.
- Nail file (medium grit 100/180).
- Cuticle oil or petroleum jelly.
- Cotton balls.
- Plastic wrap(cling) or Gel Polish Remover Silicone Wrap.
- Orangewood stick.
- Nail buffer (optional).
- Moisturizer
2. Protect Your Skin
To protect your skin from the drying effects of acetone, make sure to apply cuticle oil or petroleum jelly around your nails and fingertips.
3. Buff Up The Gel Polish
To remove the shine from your gel polish, gently buff the top coat with a nail file, and be careful not to buff your natural nails underneath. This creates a rough surface which will allow your acetone to soak in more easily.
4. Dip Cotton Balls in Acetone
Soak the cotton balls in the acetone nail polish remover until they are saturated, but not dripping. Place a soaked cotton ball on each fingernail, ensuring it covers the entire nail surface.
5. Secure With Wraps
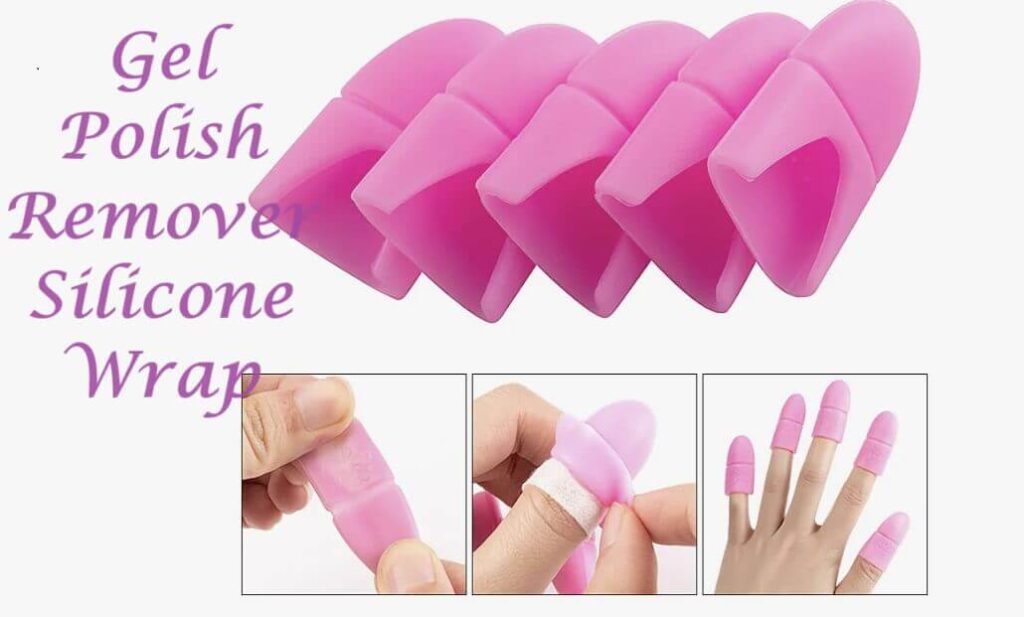
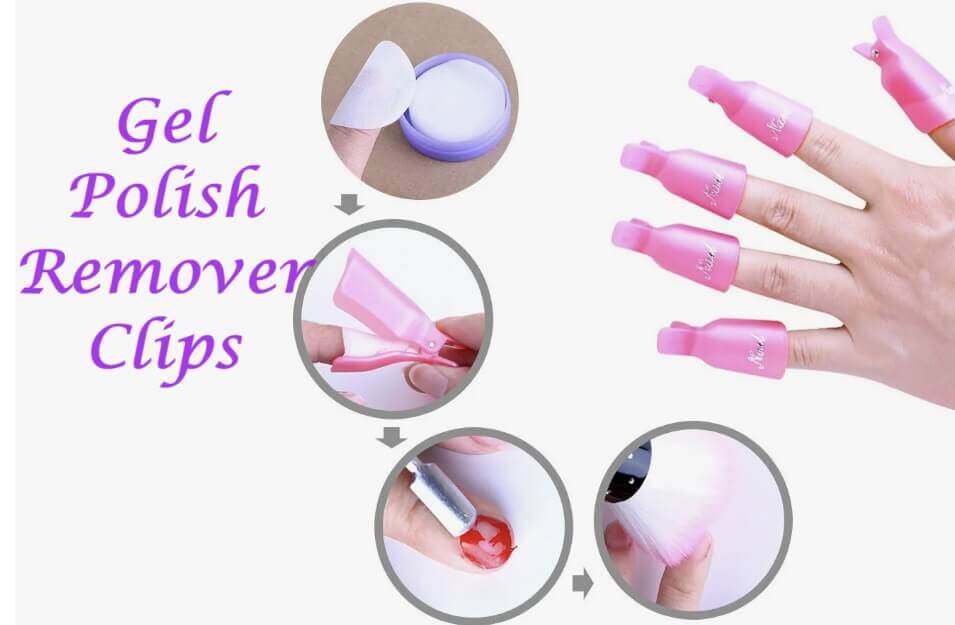
Plastic wrap (cling wrap) is a great option for removing gel polish. Wrap it around your fingertip, securing the cotton ball soaked in acetone. This creates a tight seal to prevent the acetone from evaporating quickly. Gel Polish Remover Silicone Wraps are an easier option, you can find them in beauty stores and online at low cost. They provide complete grip plus they are reusable.
6. Let The Magic Happen
Sit back and relax for 10-15 minutes. The acetone will start to dissolve the gel polish, making it soft and easier to remove.
7. Check And Remove Gel Nail Polish
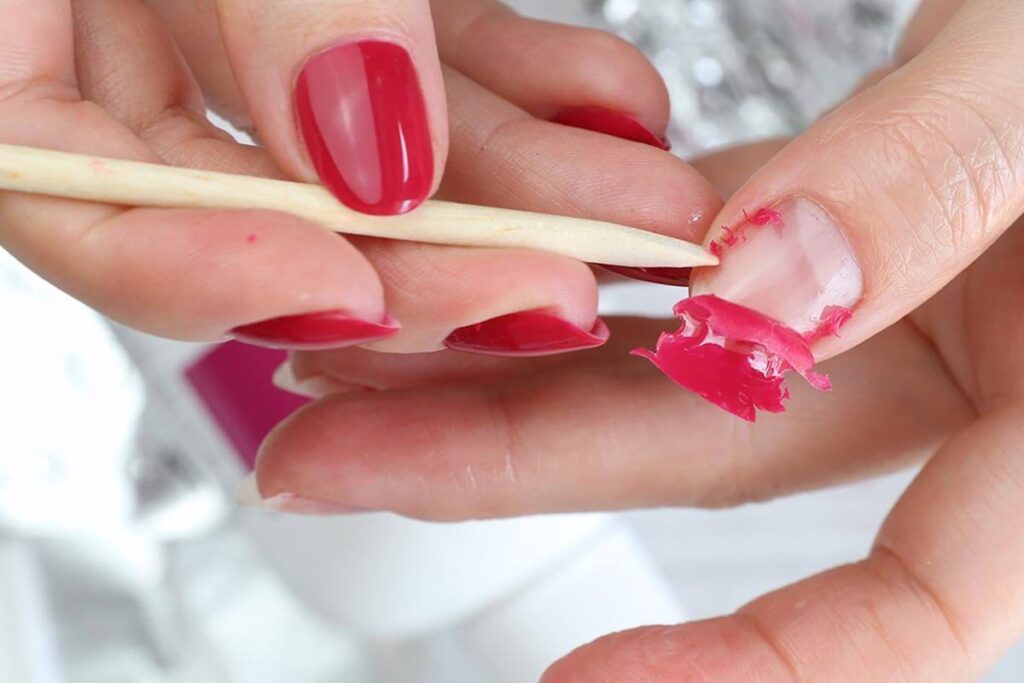
After the soaking time, gently test one fingernail by pushing at the edge of the polish with the orangewood stick. If the polish comes off easily, you’re good to proceed. If the polish isn’t ready, re-saturate the cotton ball with acetone and rewrap the fingernail with plastic wrap for a few more minutes. Check every few minutes to avoid over-soaking.
Once the polish is softened, use the orangewood stick to gently scrape off the gel polish in a sweeping motion, starting from the base of your nail and working your way toward the tip. Be careful not to scrape too harshly, as this can damage your natural nails.
8. Clean Up And Buff
Unwrap each finger and discard the used cotton balls. Use acetone soaked cotton swabs to remove leftover residue on the nails. Gently buff your nails with a nail buffer (optional) to smoothen any rough patches left over from the removal process.
9. Moisturize
Use soap and warm water to wash your hands to remove any remaining acetone. Rehydrate and nourish your nails and cuticles by applying cuticle oil generously to them after exposure to acetone.
Additional Tips
Never peel off gel polish: Gel polish adheres strongly to the nail plate, never try to forcefully peel it off. In this case, you can rip away layers of your nail along with the polish. This can leave your nails thin, weak, and prone to breaking.
Don’t force it: If the polish isn’t coming off easily after soaking, resist the urge to pry or peel it off. Soak your nails again for a few extra minutes and try again.
Shorter soaks are better: Start with a 10-minute soak and check the polish. Over-soaking can dry out your nails and make them more brittle.
Be gentle: Avoid applying too much pressure when scraping off the polish or buffing your nails.
Take care of your nails: After removing the gel polish, make sure you go at least a couple of weeks without polishing your nails in order to give them a chance to recover. Consider using a nail strengthener to improve the health of your nails.
By following these detailed instructions and tips, you can effectively remove gel polish at home using the soaking method while minimizing the risk of damaging your nails and skin.
Premade Gel Nail Removal Kits
Premade gel removal kits are like take-home salons for your nails! They include acetone-soaked cotton pads to dissolve the polish, plus little holders to keep them on your fingers. Some kits even have extras like nail files and cuticle pushers for a complete at-home removal experience.
Important Note
While gel polish offers long-lasting benefits, repeated exposure to UV light from curing lamps can damage skin cells and might increase skin cancer risk. Although some believe LED lamps are safer, both types emit UVA light.
According to the American Academy of Dermatology Association Before getting a gel manicure, apply a broad-spectrum, water-resistant sunscreen with an SPF of 30 or higher to your hands to prevent the risk of development of skin cancer and premature skin aging.
Conclusion
While gel polish offers advantages like long-lasting wear and a high-shine finish, removing it requires extra care due to the use of acetone. If you’re concerned about protecting your nails and skin, consider using traditional nail polish instead, which can be removed with non-acetone polish remover. You can also minimize UV exposure during gel manicures by applying sunscreen to your hands before curing under the UV lamp. By following the tips in this guide and choosing the removal method that suits you best, you can safely remove gel polish (UV gel manicure) at home while keeping your nails and skin healthy.


2 thoughts on “How to Remove Gel Nail Polish at Home Like a Pro”