
Have you ever gotten that gorgeous gel manicure, feeling all fierce and fabulous, only to be disheartened by chips appearing within just a few days? It’s a common frustration. You invest time and money into a beautiful manicure, only to see it looking less than perfect much sooner than you’d hoped.
It’s nothing to worry about, fellow nail enthusiasts! I’m going to transform your gel manicure experience, revealing the secrets to achieving chip-resistant, long lasting gel nails that last for weeks, and not just days. Countless readers bombard me with questions like “How to make gel nails last longer” and “What to tell a manicurist when getting gel nails in a salon”. Well, consider your chipping woes a thing of the far past. After reading this blog and following all these steps, your gel nails will last for weeks at a time.
Prepping Your Nails for Success
Longlasting gel manicures aren’t just about the polish. The foundation lies in proper nail prep. Here’s how to set your nails up for a chip-resistant future.

3 Steps Prep to Make Gel Nails Last Longer
1, Trim and shape your nails to your desired length and style. Push back your cuticles gently using a cuticle pusher. This is a crucial step to getting gel polish to stay on much longer.
2, An important step for gel nails to last longer is a clean, oil-free nail plate. Using a cotton pad dampened with a non-acetone nail polish remover (regular remover can dry out your nails), gently wipe away any traces of dirt, oil, or lotion from the nail surface. This ensures the gel polish has a clean surface to adhere to, creating a strong bond that helps prevent chipping and lifting.
3, Next, take a fine-grit buffer and lightly buff the entire nail surface, focusing on the top and the free edge (the tip of your nail). This creates microscopic ridges in the nail plate, providing extra texture for the gel polish to stay on. Be gentle though, as over-buffing can weaken your nails. Aim for a light buff that removes any shine without actually damaging the nail itself.
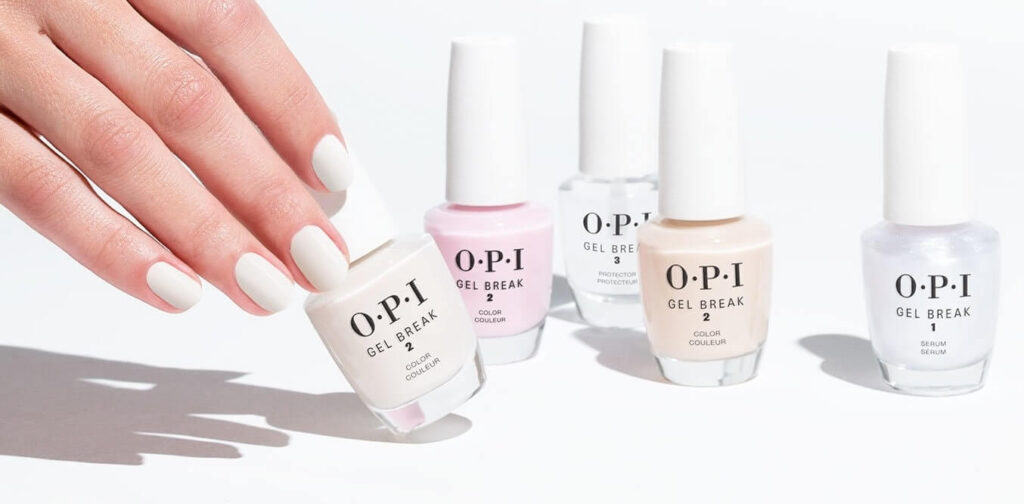
Choose Best Products to Make Gel Manicure Last Longer
Not all gel polishes are created equal. Invest in high quality products specifically formulated for long wear. Here’s all you’ll need for the essential gel manicure toolkit:
Base Coat
This is the unsung hero of the gel manicure world. Think of it as a double-sided tape. It creates a strong bond between your natural nail and the gel polish. Using a high-quality base coat specifically designed for gel polish application is crucial for gel manicures last longer. Look for a base coat that is slightly tacky after curing, as this tacky surface will help the gel polish adhere better.
Gel Polish
When it comes to gel polish, try to lean towards a reputable brand known for its chip-resistant formula. Popular features to look for include long wearing properties, chip-resistant formulas, and a variety of beautiful, opaque colors. Here are some potential recommendations.
| Deborah Lippmann Gel Lab Pro |
| Dazzle Dry Nail Lacquers System Kit |
| Orly GelFX Gel Nail Color |
| Madam Glam Soak-Off Gel Polish |
| Essie Gel Couture Nail Polish |
| OPI GelColor |
Top Coat
This is the final layer that seals everything in and shields your manicure from everyday damage. A good top coat will add a dazzling shine to your gel manicure and prevent peeling, scratching, and fading. Choose a top coat that is formulated to work specifically with your chosen gel polish brand for optimal results.
Application Techniques To Make Gel Nails Last Longer
Did you think flawless gel application is only for salon professionals? Think again! Let me share with you some techniques to make gel polish last longer and achieve a chip resistant masterpiece.
Thin is The New Thick
Forget about those gloopy, thick layers that take forever to dry and are more prone to peeling. Apply several thin coats of gel polish instead. Each thin coat should completely cover the nail plate without overflowing at the edges. Think of it like building up a foundation of color, one thin layer at a time. This method allows each layer to cure more evenly, resulting in a stronger, more durable manicure that’s much less likely to chip.
Seal The Polish
Don’t forget the tip of your nail, also called the free edge. Run the brush lightly across the free edge to completely cover it. This seals the polish and prevents chipping from your everyday wear and tear. Think of it like adding a raincoat to your nail polish. The sealed tip acts as a barrier, protecting the polish and keeping your manicure looking polished for so much longer.
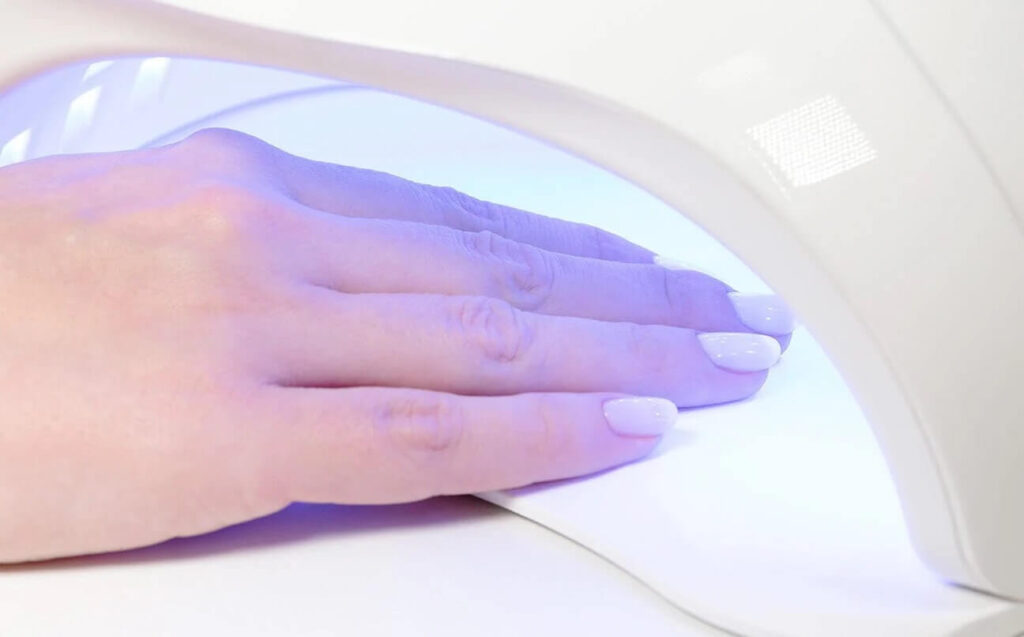
Have Patience While Curing
Rushing is the enemy of a flawless gel manicure! Each layer needs to cure completely under the lamp according to the manufacturer’s instructions. Curing times can vary depending on the lamp and polish, so check the bottle or lamp for specific times. A poorly cured polish is more likely to chip, so be patient for those perfect nails.
Review Your Daily Habits For Long Lasting Gel Manicure
Now here comes the most important part, YOUR DAILY ROUTINE HABITS, which account for 50% of a gel manicure’s longevity.
Glove Up Your Pretty Paint Job
Harsh chemicals and hot water can ruin your gel manicure, just like kryptonite weakens Superman’s powers. Wear gloves when cleaning, washing dishes, or handling hot objects. This will prevent the polish from weakening or lifting.
Treat Your Gel Nails Like Jewels
We all know the temptation to use our nails as tools, but resist! Avoid using them to open things or pry objects. Instead, become a master of alternative methods. Keep a stash of handy tools nearby, like a butter knife, coin, or dedicated keychain opener. This way, you’ll always be prepared to tackle any opening challenge without sacrificing your beautiful manicure. Remember, your nails are beautiful, treat them with care!
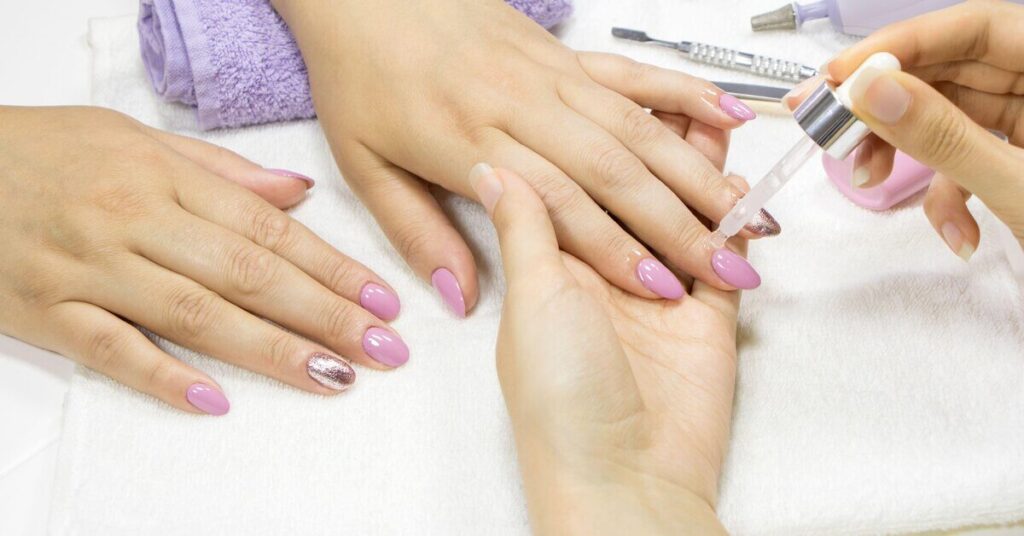
Hydration İs Key
Dry, brittle nails are more prone to chipping. To keep your nails and surrounding skin healthy and hydrated, regularly apply cuticle oil, at least around 3 to 4 times a day. Massage it gently into your cuticles and nails. Think of it as giving your nails a well deserved mini spa treatment.
Common Gel Manicure Mishaps
Even the best of us make mistakes, Let’s fix these common gel manicure mishaps like early chipping or lifting at the edges.
- Incomplete Nail Prep: Before applying gel polish, gently push back your cuticles and buff your nails lightly with a soft nail file. This removes any possible oils or residue that might prevent the polish from adhering properly.
- Accidental Bumps: Freshly painted nails are delicate! Be extra careful for the first few hours after your manicure to avoid any bumping or snagging at your nails.
- Low-Quality Products: Invest in good quality gel polish and lamp for DIY manicures. Cheaper products might not cure as effectively, leading to chipping or lifting.
- Skip the Nail Cutter: Forget nail clippers for gel manis! Filing is your BFF. Clipping can break the gel seal, making your polish chip and peel. Instead, gently file with a soft nail file to shorten or smooth your gel nails. You can also trim your bare nails before applying gel polish to get your ideal length.
Increase Your Gel Manicure Life
As your nails grow, a gap will naturally appear at the base. Let’s have a quick fix for this problem.
- Discreet Touch Up: Over time, your nails begin to show a natural gap at the base of the gel polish you applied. You have to cleverly target this new growth area for a quick and discreet touch-up that keeps your manicure looking fresh and gorgeous. Here are my tried and tested solutions.
- Gather Your Supplies: You’ll need your matching gel polish color, a thin nail file, a cuticle pusher (optional), your gel polish remover (non-acetone is recommended), a lint-free wipe, and your trusty UV or LED lamp.
- Prep The Growth Area: Gently buff the new growth area at the base of your nail with the file to remove any shine and create a slightly rough surface for better adhesion. If needed, use the cuticle pusher (gently) to push back your cuticles just slightly. Be very careful not to damage your cuticles or any surrounding skin.
- Clean Up: Wipe away any dust or debris from the buffed area with the lint-free wipe. This ensures a clean application of the new polish.
- Apply Like A Pro: Apply a very thin layer of your matching gel polish only to the new growth area. Focus on keeping the line between the old polish and the new application as clean as possible. A trick for a flawless line is to use a cuticle pusher dipped in a little non-acetone polish remover to gently clean up any mistakes on the skin around your nails.
- Cure Completely: Pop your hand under the lamp and cure the new polish according to the UV lamp instructions. Under-curing can lead to possible chipping, so be patient!
- Shine On: If your top coat has dulled a bit, apply a thin layer of top coat over your entire nail and cure again. This will add extra shine and protection to your new refreshed manicure.
Create Your Own Magic
For a more creative approach to disguise the growth area, consider transforming it into an accent nail! Here’s how:
- After prepping the growth area, choose a contrasting gel polish color you love.
- Apply the contrasting color only to the new growth area, creating a French tip or a fun design element.
- Cure completely and enjoy your unique, revamped manicure!
How to Remove Gel Nail Polish At Home
A detailed blog post is waiting for you here. A 4 minute read for a simple and effective way to remove gel polish like a pro.
Conclusion
With these tips and a little practice, you can achieve stunning gel manicures that last for weeks. Don’t be discouraged if it takes a few tries to get the hang of it. Experiment with different techniques and products to find what works out best for you. Soon, you’ll be a gel manicure pro, flaunting those gorgeous, chip resistant nails with well deserved confidence.
You’ve made some really good points there. I checked on the net for additional
information about the issue and found most people will go along with your views on this website.
That’s fantastic to hear! What did you find most useful?