
Dry, dull hands and nails can be a real beauty bummer. They can make you feel less confident and can be a sign of underlying issues. But don’t worry, transforming your hands into soft, silky canvases with healthy, glowing nails is entirely possible by doing a manicure at home with just a few easy steps.
Manicure at home is not just about pampering yourself in the comfort of your home, it’s a practical way to improve the overall health of your hands and nails. By following the right DIY manicure steps and using the appropriate products, you can achieve salon-worthy results right in the comfort of your own home.
Let’s get started on your journey to softer, stronger, and more beautiful hands and nails, from understanding the root causes of dryness and dullness to mastering the art of stunning DIY nails.
Do You Have Dry, Dull Hands and Nails
By understanding the root causes of your hand and nail woes, you can take targeted steps in Manicure to address the issue and prevent future problems. Dry hands and nails can be caused by a variety of factors. Let’s explore some common culprits:
- Environmental Factors: Cold, dry air and harsh weather conditions can wreak havoc on your hands and nails, leading to dryness and cracking of the nails. Excessive exposure to water, detergents, and chemicals can also strip away natural oils.
- Lifestyle Habits: Nail biting, picking at cuticles, and frequent hand washing can weaken nails and dry out the surrounding skin.
- Nutritional Deficiencies: A lack of essential vitamins and minerals, such as biotin, vitamin E, and iron, can impact nail health and overall skin condition.
- Underlying Health Conditions: Certain medical conditions, such as thyroid disorders or eczema, can contribute to dry and brittle nails.
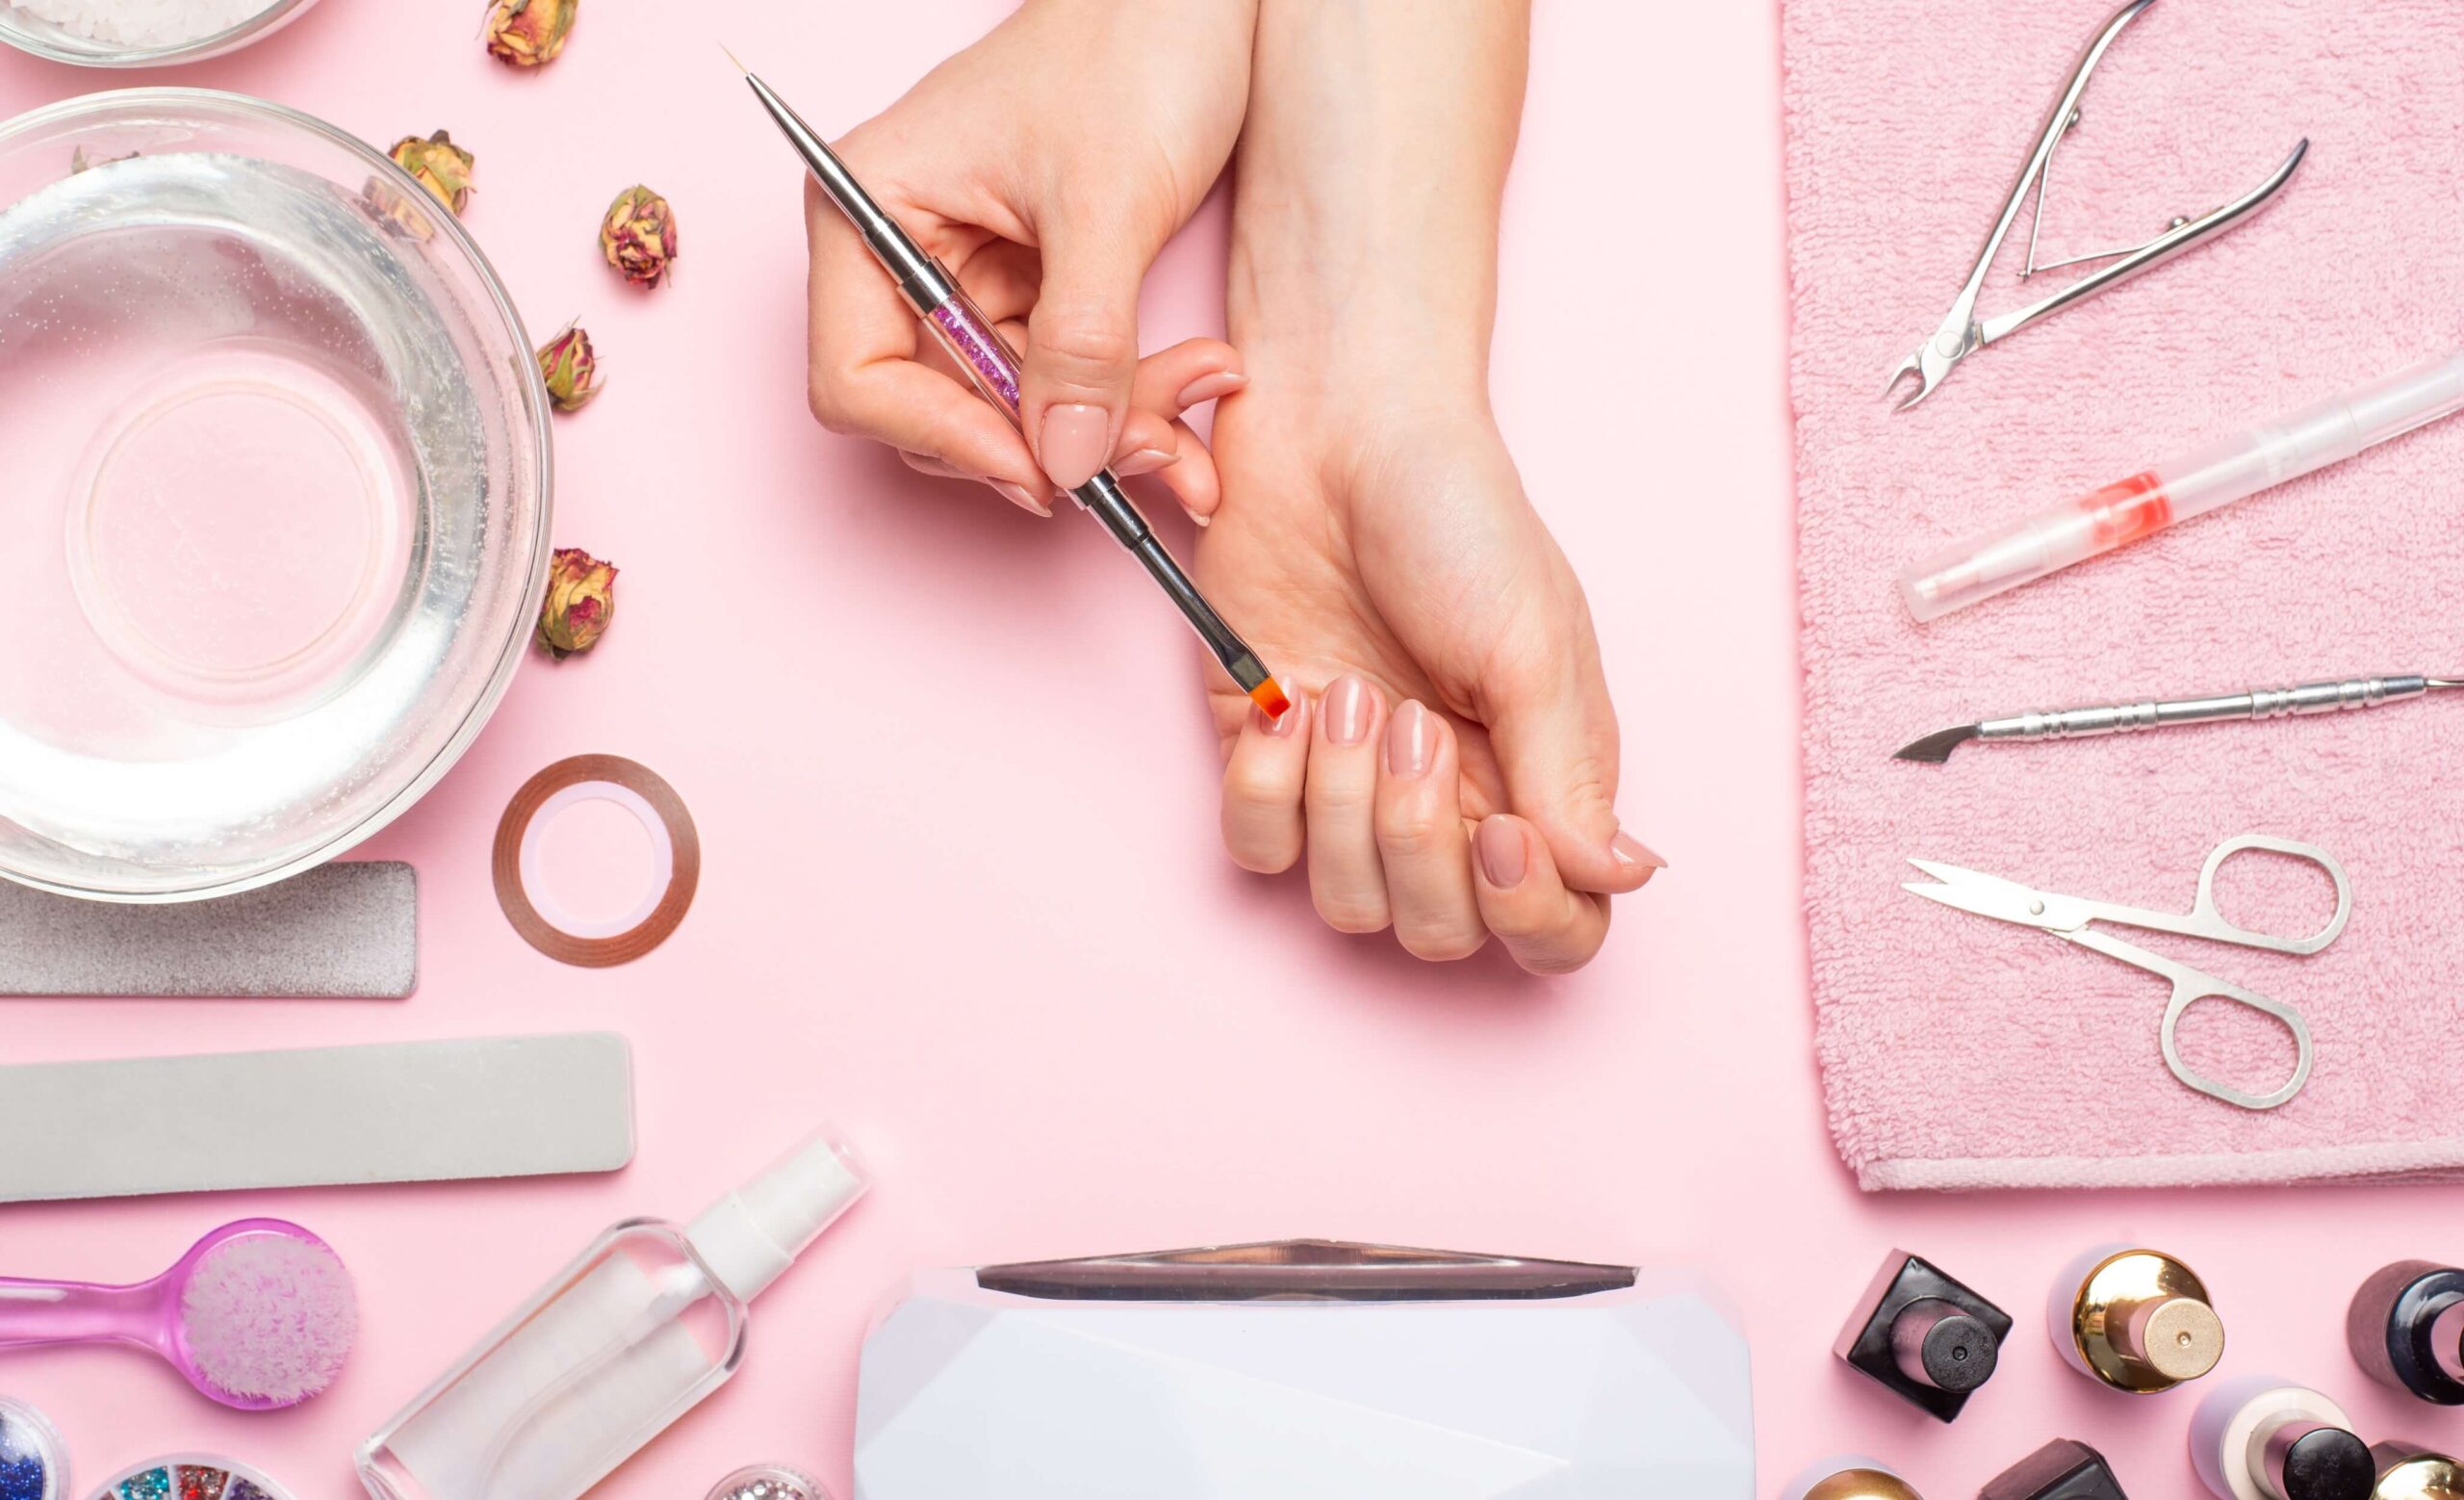
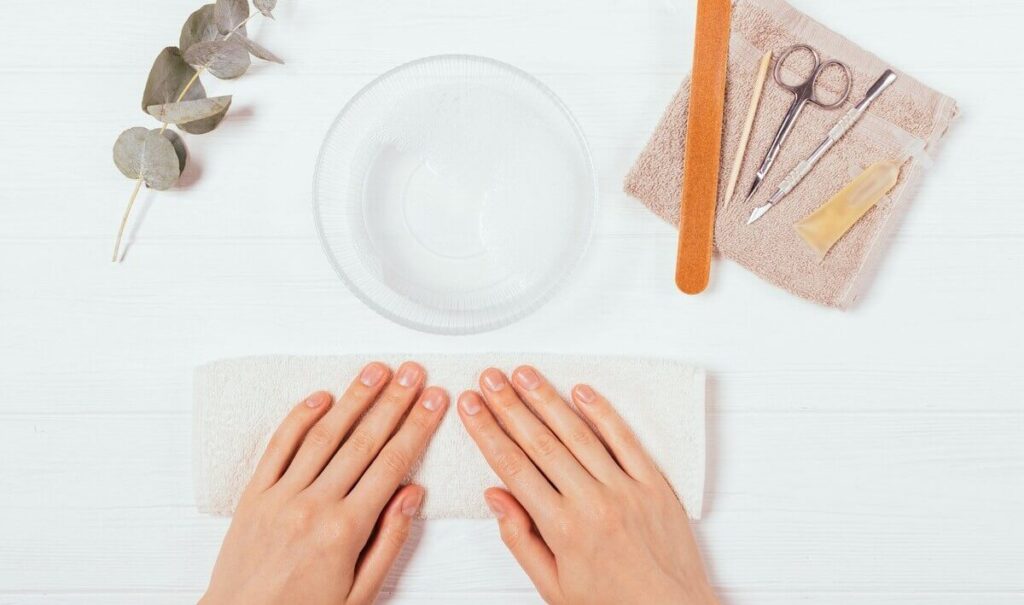
Preparing for Your Manicure At Home
Before stepping into your DIY manicure session, gather your essential tools and create a relaxing atmosphere. Find a place where you won’t be disturbed. By having everything ready and creating a soothing environment, you’ll be well-prepared to do your own nails and achieve optimal results.
Home Manicure Kit
- Nail clippers and file to shape your nails
- A cuticle pusher or orangewood stick to gently push back cuticles
- Nail buffer To smooth nail ridges
- Base coat, nail polish, top coat
- Cuticle oil to nourish your cuticles
- Hand cream to hydrate your hands
- Nail strengthening treatment (optional) to improve nail health
- Nail brush, acetone-free nail polish remover (optional)
Step by Step DIY Manicure
Remove Old Nail Polish
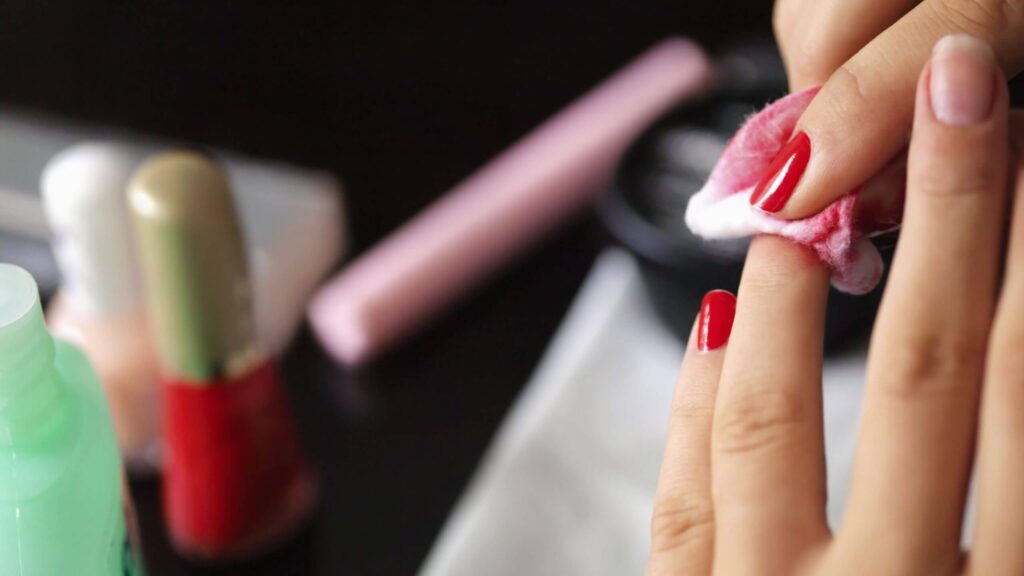
Begin by removing any old nail polish. Use an acetone-free nail polish remover to protect your nails from drying out. Saturate a cotton pad with the remover and gently wipe each nail, starting from the base and working towards the tip. For stubborn polish, hold the cotton pad on the nail for a few seconds to allow the remover to dissolve the polish before wiping. Repeat until all traces of polish are removed.
Soak Your Hands and Nails
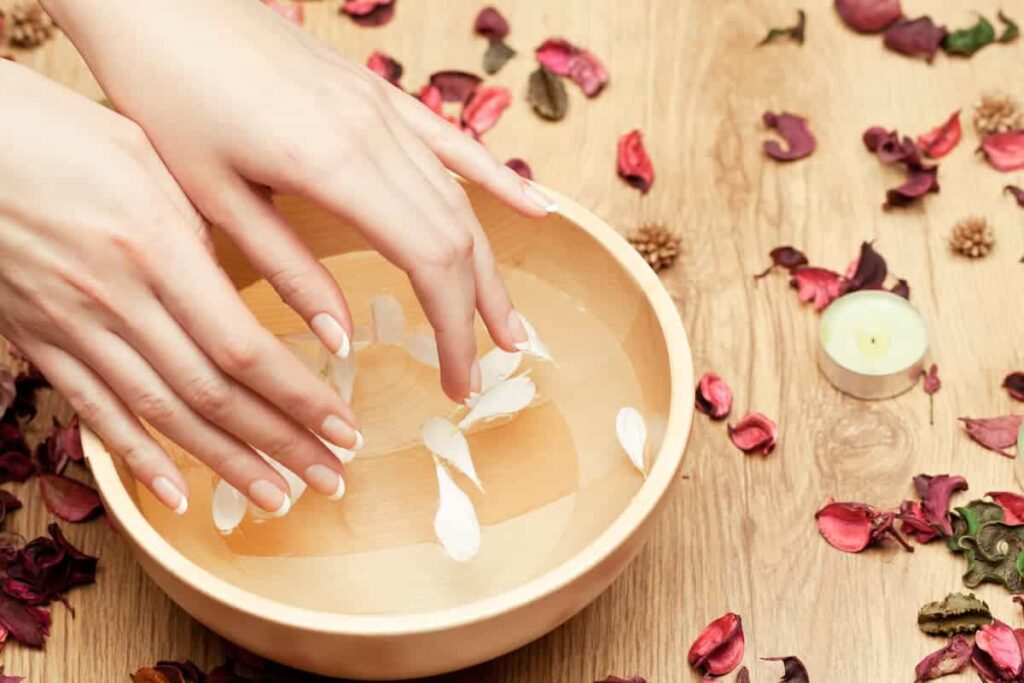
Immerse your hands in a bowl of warm water with a gentle soap or bath salts. Soaking nails before manicure softens your cuticles and nails, making them easier to manage. Allow your hands to soak for about 5-10 minutes. However, avoid soaking for extended periods, as this can lead to dryness.
How to File and Shape Nails
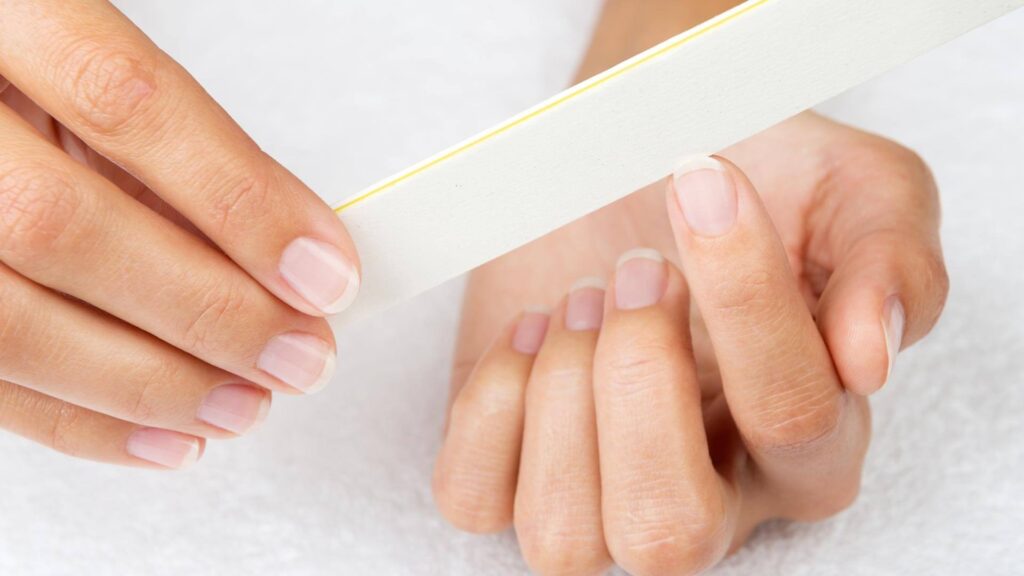
Gently file your nails into your desired shape (oval, square, almond, etc). File in one direction to prevent breakage. Avoid filing back and forth, as this can weaken the nail and cause breakage. For a smoother finish, gently buff the nail edges with a fine-grit buffer. Remember, less is more when filing, so take your time to achieve your desired shape without compromising nail strength.
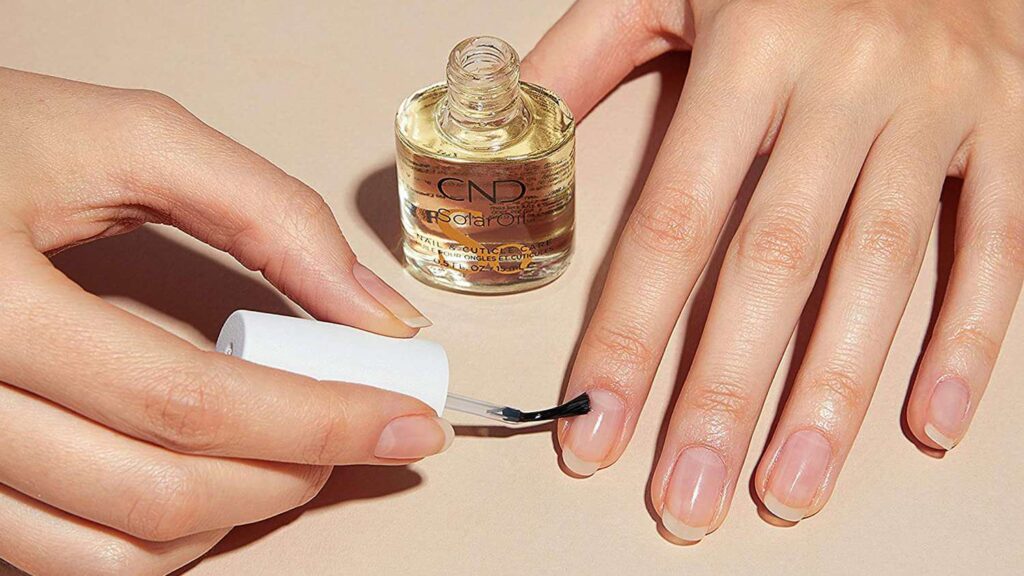
Take Care of Your Cuticles
Using a cuticle pusher, gently push back the cuticles. Avoid cutting the cuticles, as this can lead to infection, therefore it’s best to leave it to the professionals. Apply cuticle oil to nourish and hydrate the cuticle area.
Exfoliation (Optional)
For extra smoothness, a variety of hand scrubs are available in the market, you can also create a homemade sugar scrub to exfoliate your hands. Gently massage the scrub into your hands, focusing on any rough areas. Rinse thoroughly.
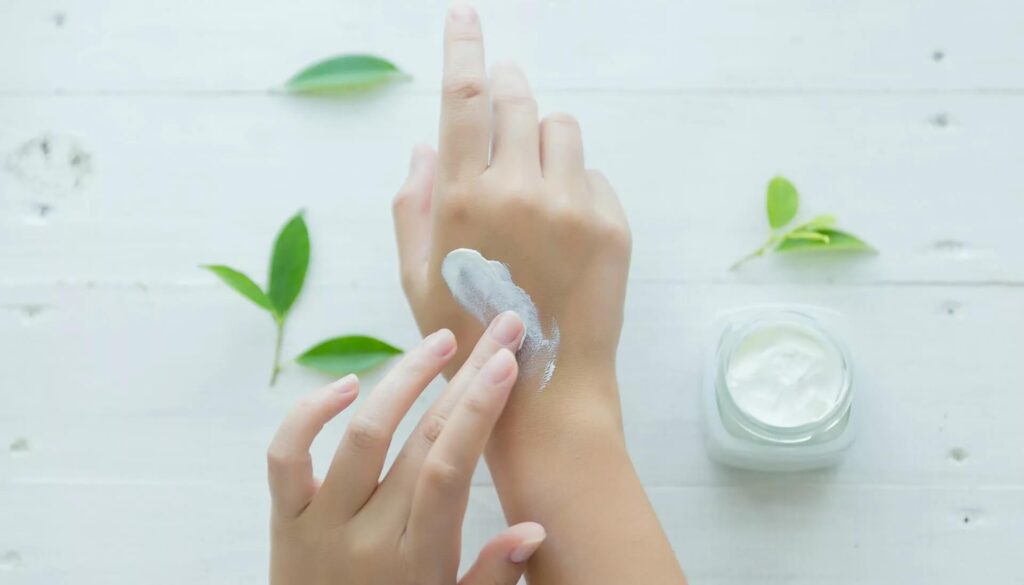
Moisturize Your Hands
Apply a generous amount of hand cream to your hands and massage it in thoroughly. Pay special attention to the cuticles and nails. Massage until the cream is fully absorbed, leaving your hands feeling soft and hydrated. Look for creams containing nourishing ingredients like shea butter, coconut oil, aloe vera, hyaluronic acid, ceramides, and urea. These components deeply hydrate, protect, and repair your skin. Ceramides help strengthen the skin’s natural barrier, preventing moisture loss, while urea improves hydration and softens rough skin.
DIY Nails, Manicure at Home Like Professionals
Before applying any nail polish, it’s crucial to ensure your nails are clean and free from oils and moisturizers. These substances can interfere with the polish’s adhesion, causing it to chip prematurely. Use a cotton pad soaked in acetone-free nail polish remover to thoroughly clean the nail surface.
Base Coat
Apply a thin, even layer of base coat to all your nails. This protective layer helps prevent staining, promotes better adhesion of the color polish, and can also contribute to smoother nail growth. Allow the base coat to dry completely before proceeding to the next step.
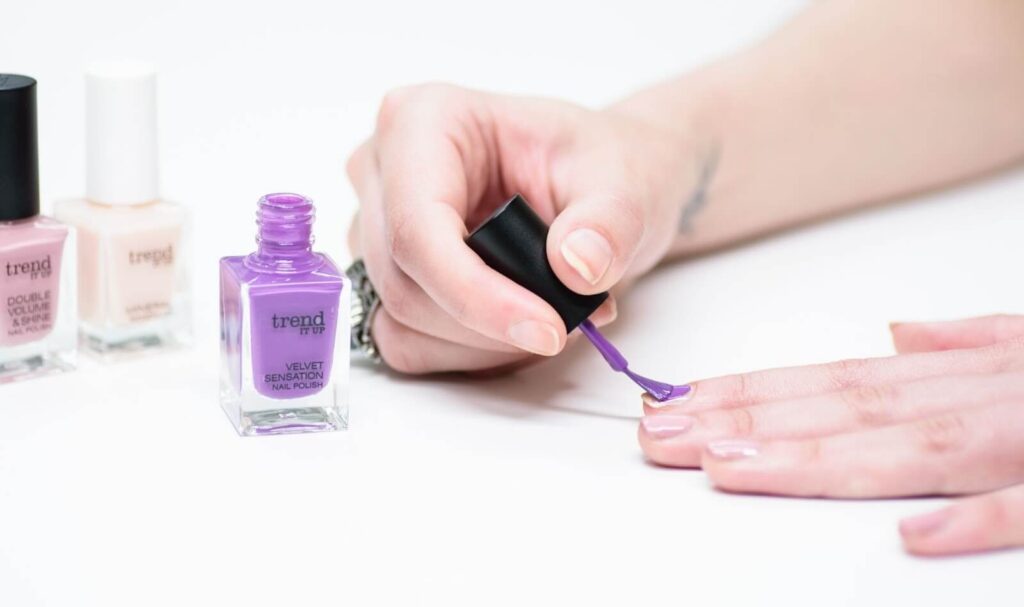
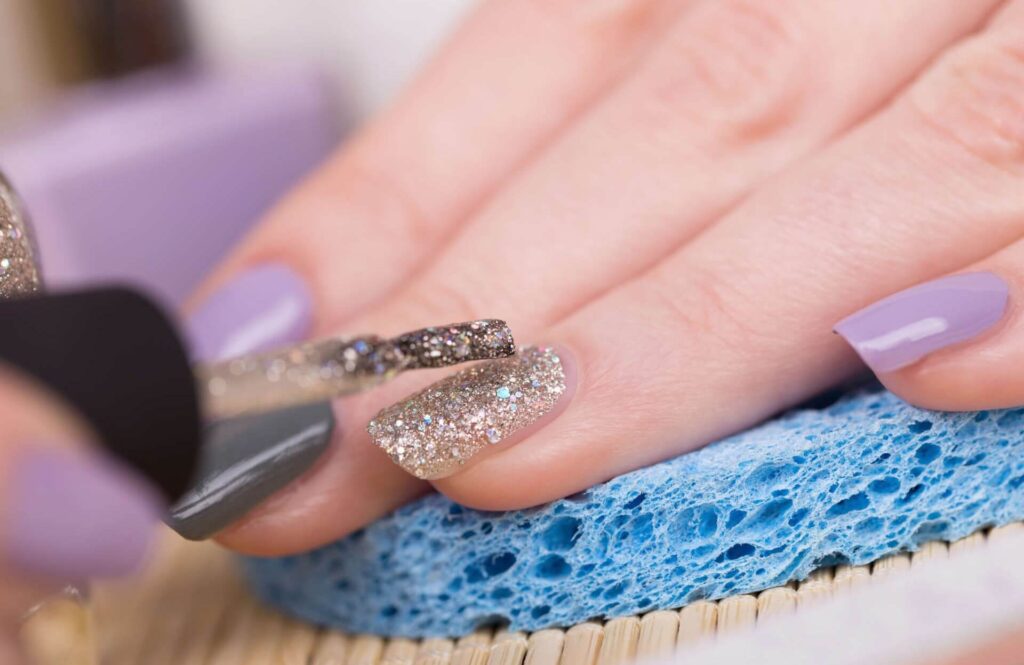
Nail Polish
Choose your desired nail polish color and apply two thin coats, allowing each coat to dry completely before applying the next. For a more even application, start from the center of the nail and gently stroke towards the edges. Avoid applying too much polish, as this can lead to uneven drying and increased chipping.
Top Coat
Finish with a top coat to seal the color, add shine, and protect your manicure from chips and smudges. Apply a generous coat, ensuring complete coverage. Allow the top coat to dry thoroughly for a long-lasting finish. Regular top coat application is key to extending the life of your at-home manicure. Reapplying every 2-3 days helps maintain a glossy finish and prevents chipping, ensuring your nails look their best for longer. Additionally, the longevity of your manicure depends on using a high-quality base coat and top coat.
Nail Strengthening (Optional)
If your nails are weak or brittle, consider using a nail strengthening treatment. Look for products containing ingredients like keratin, biotin, calcium, and vitamin E. Keratin helps rebuild the nail’s structure, while biotin and calcium contribute to overall nail strength. Vitamin E provides antioxidant protection and helps maintain nail moisture. Apply the treatment according to the product instructions, allowing it to dry completely before applying nail polish. Remember, consistency is key when using nail strengthening treatments.
DIY Manicure Tips
To maintain the health and beauty of your hands and nails, follow these aftercare tips to prolong the results of your DIY manicure and enjoy soft, healthy hands and nails.
- Moisturize Regularly: Apply hand cream throughout the day, especially after washing your hands. Look for creams with hydrating ingredients like shea butter, coconut oil, or aloe vera.
- Protect Your Hands: Wear gloves when doing chores or using harsh chemicals to shield your hands and nails from damage.
- Strengthen Your Nails: Incorporate biotin and vitamin supplements into your diet to support nail growth and strength.
- Avoid Harsh Removers: Opt for acetone-free nail polish removers to minimize damage to your nails.
- Prevent Breakage: Be gentle with your nails and avoid using them as tools.
DIY Nails Treatment for Specific Concerns
While a regular manicure at home can improve overall nail health, specific concerns may require additional attention. Here are some common nail issues and potential DIY treatments. Remember: While these DIY treatments can help improve nail conditions, persistent or severe issues may require professional medical advice.
White Spots on Nails
White spots (leukonychia) are often caused by minor nail injuries. They usually disappear as the nail grows. To maintain healthy nails, eat a balanced diet and keep your nails hydrated.
Brittle Nails
Brittle nails can be frustrating. To strengthen them, try using a nail hardener or applying olive oil to your nails before bed. Avoid excessive use of nail polish remover and keep your hands moisturized.
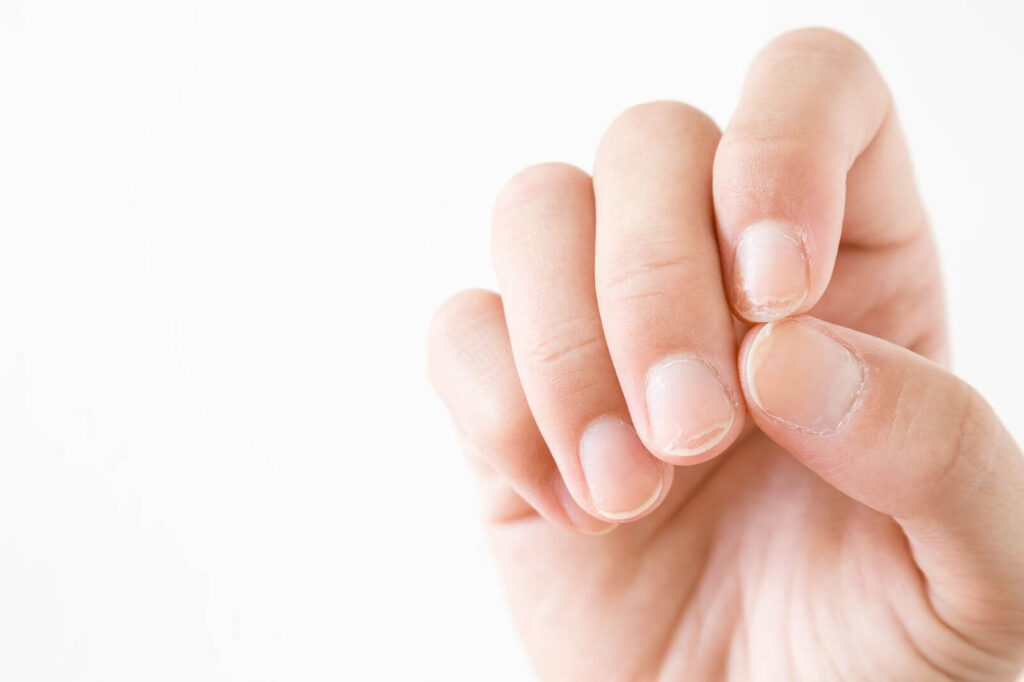
Peeling Nails
Peeling nails can be caused by dryness or excessive nail polish use. Regular cuticle oil application and allowing your nails to breathe between manicures can help. Consider using a nail strengthening treatment to improve nail flexibility.
Nail Discoloration
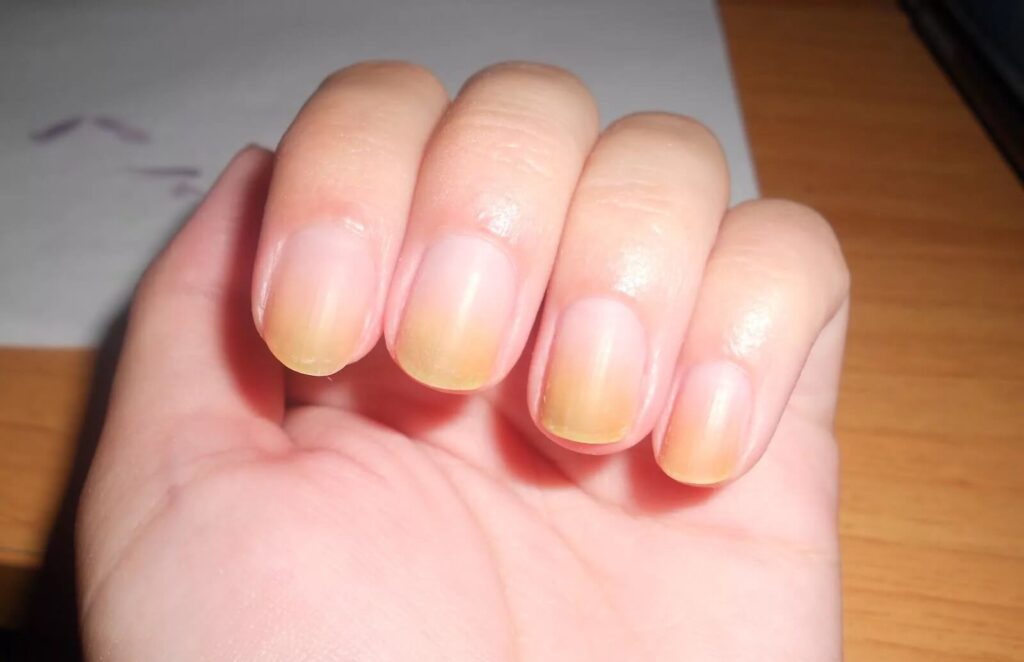
Yellowing nails can be caused by smoking, dark nail polish, or fungal infections. If you suspect a fungal infection, consult a dermatologist. For mild discoloration because of smoking or dark nail colors, try using a whitening toothpaste or baking soda paste to gently scrub the nails.
Conclusion
Through a manicure at home, you can easily transform your hands and nails into a beautiful masterpiece with a little self-care. By following all the above DIY manicure steps and incorporating aftercare tips into your routine, you can nourish your hands and nails, promoting healthy growth and a polished appearance.
Remember, consistency is key. Regular manicures, coupled with proper hydration and protection, will yield long-lasting results. Don’t hesitate to experiment with different nail colors, designs, and treatments to express your personal style and master the DIY nails.
Indulge in this self-care ritual to not only enhance your appearance but also to create a moment of relaxation and rejuvenation. Your hands deserve the pampering❣️
FAQs
How often should I do a DIY manicure?
Aim for a DIY manicure once a week to keep your nails and hands looking their best. However, you can adjust the frequency based on your nail growth and personal preference.
Can I cut my cuticles?
It’s best to avoid cutting your cuticles. They act as a protective barrier for your nails. Gently pushing them back with a cuticle pusher is sufficient.
How long should I wait between coats of nail polish?
Allow each coat of nail polish to dry completely before applying the next. The regular nail polish usually takes about 2-3 minutes.
What can I do about weak and peeling nails?
Use a nail hardener and apply cuticle oil regularly. Biotin supplements can also help strengthen nails from within.
How can I prevent nail polish from chipping?
Applying a base coat and top coat helps prevent chipping. Avoid using your nails as tools and wear gloves when doing chores.
Can I reuse nail polish?
While it’s possible to reuse nail polish, it’s generally recommended to replace it after a few months to prevent bacteria buildup.
How can I remove stubborn nail polish?
Soak a cotton pad in acetone-free nail polish remover and hold it on the nail for a few seconds before gently wiping off the polish.