
Are you Tired of chipped polish? Learn all about the trendy Russian manicure for long lasting, and flawless nails.
If you Ever dreamt of long lasting perfect nails then you’re not alone buddy! Traditional manicures often chip within days, leaving you frustrated. But what if there was a solution for longer-lasting, chip-resistant nails? Enter the Russian manicure, taking the beauty world by storm. This innovative technique boasts a sleek finish and impressive durability – some ladies report up to four weeks of wear!
I wrote this blog to equip you with everything you need to know about Russian manicures, from finding a skilled technician to mastering aftercare secrets. Get ready to say goodbye to chipped polish and hello to flawless nails!
Difference between Regular and Russian Manicure
The classic manicure has long been a staple in the self-care routine. Many, however, find that chipped polish within days leaves them searching for a more long-lasting solution. Here comes the Russian manicure, a revolutionary technique gaining serious popularity in the beauty world.
So, what sets a Russian manicure apart?
Dry vs. Wet
Unlike traditional manicures that involve soaking your hands in water, the Russian manicure takes a dry approach. This eliminates the risk of softened nails that are more prone to breakage.

Eponychium Removal
Traditional manicures often rely on cuticle clippers to remove hangnails and dead skin. The Russian manicure, however, employs a more meticulous technique involving a specialized electric file and cuticle pusher. This removes the eponychium (the living skin at the base of the nail) for a cleaner, smoother look and minimizes the risk of hangnails and ragged cuticles.
Why Choose a Russian Manicure?
Durability
Say goodbye to wet = weak manicure methods resulting in chipped polish, and say hello to stronger, shinier, and longer-lasting nails! By ditching the water-soaking process altogether, Russian manicures work by meticulously removing cuticles for a super clean base. The dry and detailed cuticle work gives a strong foundation for your manicure. All this results in a chip-resistant, long-lasting, super-shined finish that lasts for weeks!
Flawless Finish
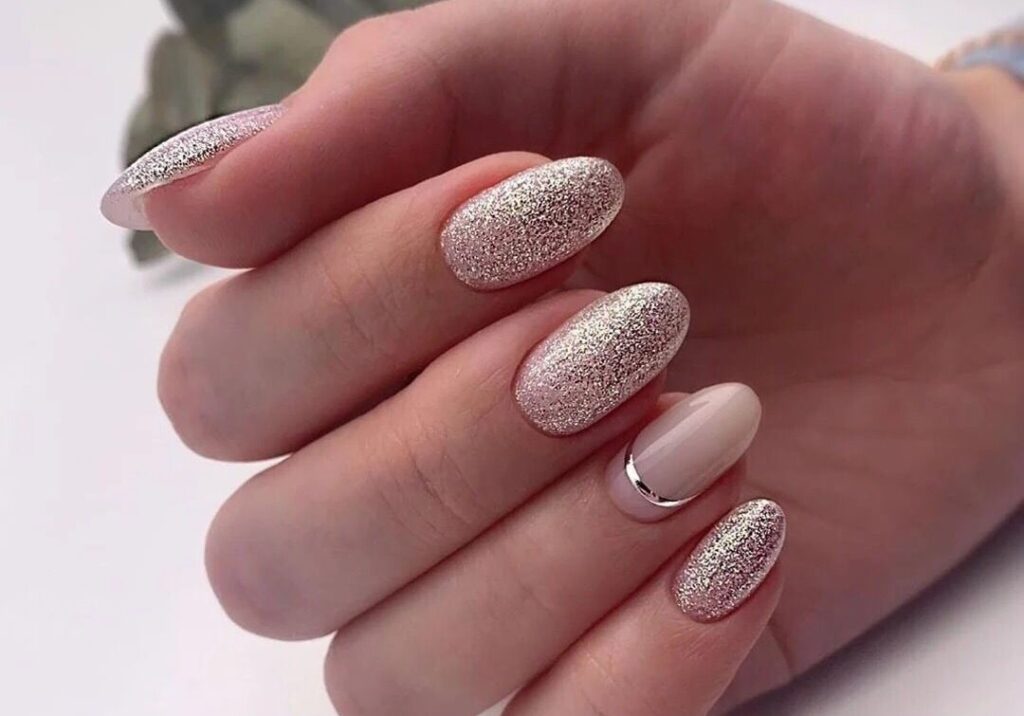
When the eponychium is removed with care and meticulously shaped, the result is a clean, polished look that highlights your nails’ natural beauty.
Minimal Chipping
The dry application and focus on a healthy nail bed minimize chipping, keeping your manicure looking pristine for weeks.
What to Expect During a Russian Manicure
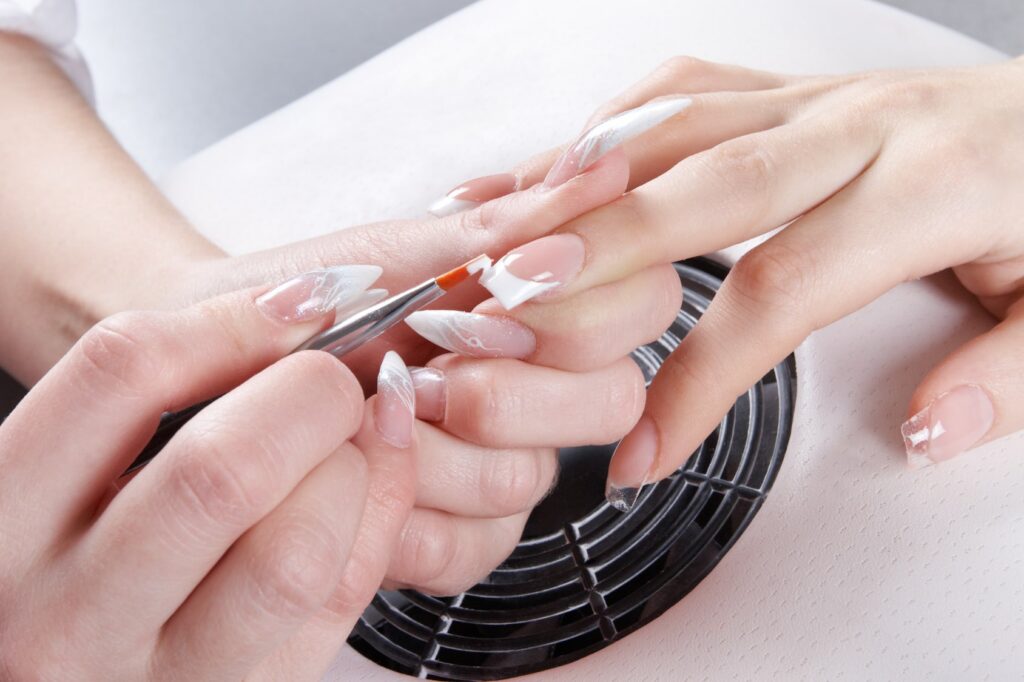
Here’s a breakdown of the typical steps involved in a salon Russian manicure
1. Prep and Cleanse
The technician will begin by cleansing your hands with an antiseptic solution to remove bacteria.
Any existing nail polish will be gently removed, there are 2 ways of removing old polish. Use acetone or a drill filer, specifically designed to carefully buff away the polish without harming your natural nails.

2. Shaping and Refining
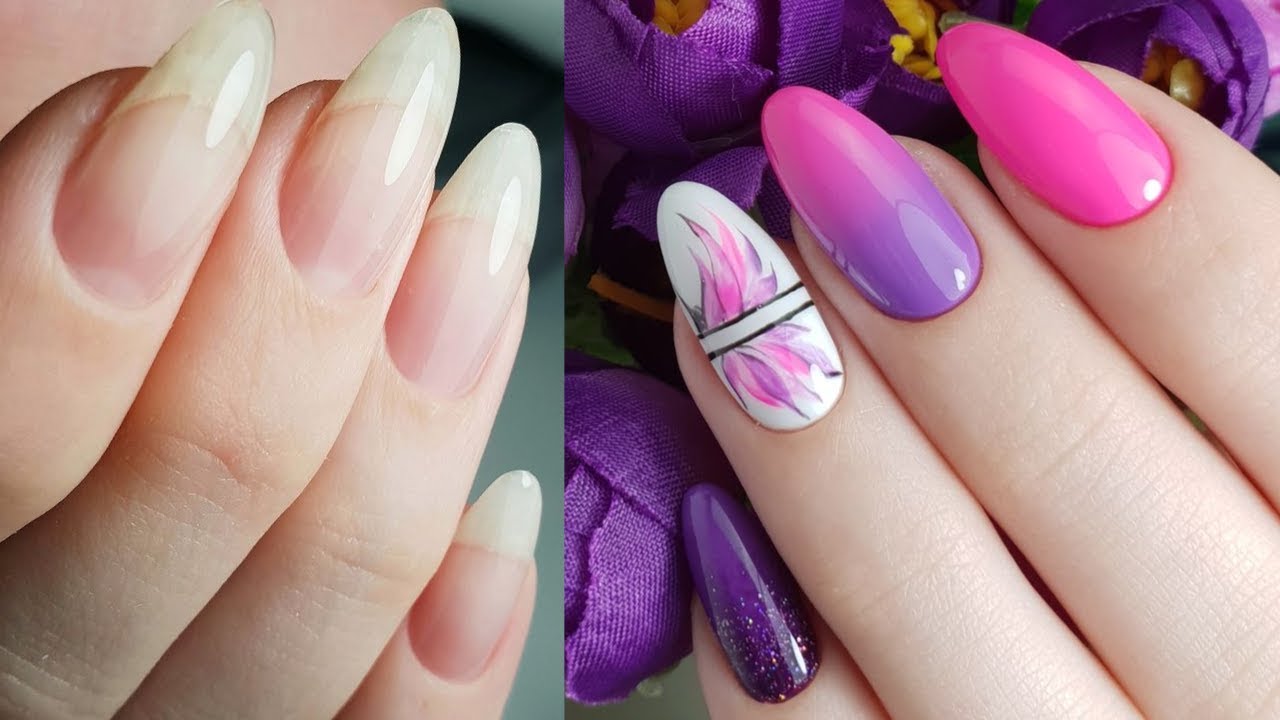
Using a nail file, the technician will shape your nails to your desired length and style. Popular choices for Russian manicures include almond, oval, and square shapes with a clean, defined edge.
3. Cuticle Care (The Heart of the Russian Manicure)
This is where the magic happens! Unlike traditional cuticle cutting, the Russian manicure employs a gentle dry method using a rotating electric file with various attachments.
A pusher or orangewood stick is used to gently push back the cuticle.
A fine-grit diamond drill bit (often called a “flame bit”) delicately removes dead skin cells and lifts the cuticle for easier cleaning.
A ball-shaped bit then carefully removes the softened cuticle without damaging the surrounding skin.
While a Russian manicure offers a clean and long-lasting result, it’s important to find a qualified nail technician experienced with this technique. The use of electric drill bits requires proper training to avoid damaging the natural nail or causing discomfort.
4. Base Prep and Polish Application
After achieving a clean nail bed, the technician will buff the nail plate to create a smooth surface for optimal polish adhesion.
A base coat is applied to protect the natural nail and promote long-lasting wear.
Gel polish is then meticulously applied in thin layers, ensuring flawless application and chip resistant wear. Each layer is cured under a UV or LED lamp to harden the polish.

5. Finishing Touches and Hydration
Once the final coat of polish is cured, the technician will remove any smudges with a polish remover and a clean-up brush.
Cuticle oil is applied to nourish and hydrate the delicate cuticle area, preventing dryness and hangnails.
Hand lotion is applied to moisturize and pamper your hands.

Best at-home Aftercare for Russian Manicures
Achieving beautiful, healthy nails involves a combination of professional expertise and your own care routine at home. After treating yourself to a meticulous Russian manicure or pedicure, a few simple steps can significantly extend the results and keep your nails looking polished for a long period.
Hydration is Key
Cuticle oil becomes your best ally for maintaining hydrated nails and cuticles after a Russian treatment. Consistent application helps prevent dryness, cracks, and brittleness. Look for nourishing formulas enriched with natural oils like jojoba, almond, or vitamin E for optimal hydration benefits.
Protect Your Freshly Pampered Hands
Harsh chemicals in household cleaning products can wreak havoc on your nails, making them weak and prone to breakage. Shield your beautiful nails by wearing gloves whenever you tackle dishes, gardening, or cleaning chores.
Ditch the Harsh Removers
Acetone-based nail polish removers can be detrimental, stripping away essential oils from your nails and leaving them dry and brittle. Instead, opt for gentler, acetone-free removers that are kinder to your nails’ health.
File with Finesse
Always use a fine-grit emery board when filing your nails and maintain a single filing direction to prevent weakening and potential breakage. Avoid excessive filing, particularly on the nail edges.
Fortify with a Base Coat
Before applying your favorite nail polish, consider using a strengthening base coat. These base coats provide a protective layer that helps prevent chipping and breakage.
Give Your Nails Breathing Room
Allow your nails to breathe occasionally by taking breaks from nail polish application. This break allows them to replenish their natural moisture and regain strength.
Kick the Nail-Biting Habit
Nail biting is a detrimental habit that can damage the nail bed and surrounding skin. If you find yourself resorting to nail biting, explore stress-relieving techniques like meditation or yoga.
Regular Professional Upkeep
Make regular appointments for Russian manicures and pedicures to keep your nails healthy, strong, and beautiful. Professional care helps remove excess cuticles, address any nail concerns, and keep your nails looking their best.
Remember, beautiful and healthy nails are a reflection of overall self-care. By following these simple yet effective aftercare practices, you can extend the life of your Russian manicure or pedicure and keep your nails looking stunning for longer.
How Much Does a Russian Manicure Cost?
A Russian manicure typically costs around $80 and takes approximately 2 hours to complete. This price tag reflects the extra time, skill, and specialized equipment involved in the process. While it may seem more expensive than a traditional manicure upfront, the extended wear time of a Russian manicure can even things out in the long run, as you’ll need fewer salon visits. It’s important to note that prices can vary depending on your location. In some cities, you might find Russian manicures for around $70, while others may charge closer to $90.
Conclusion
The Russian manicure offers a superior alternative to traditional manicures, boasting extended wear, a flawless finish, and minimal chipping. With proper aftercare, you can extend the longevity of your manicure and maintain beautiful, healthy nails for weeks on end. So ditch the chipped polish and embrace the world of Russian manicures for a long-lasting, polished look! If you’re looking for a chip-resistant, stunning manicure, then a Russian manicure is definitely worth considering. Just be sure to find a qualified technician and follow the recommended aftercare tips to maximize your results.
FAQs
Why do Russian Manicures last so long?
they ditch the water soak (wet nails = weak nails) and meticulously remove cuticles for a super-clean base. Plus, they use top-notch gel polish for a chip-resistant, long-lasting manicure that lets your shine last for weeks!
How is a Russian manicure removed?
While a professional can remove your Russian manicure safely, the process itself is similar to removing gel polish:
Soften it Up: Acetone-soaked cotton balls will be placed on your nails to gently dissolve the gel polish. It is advisable to opt for acetone-free removers.
Buff and Push Back: The technician will lightly buff the top layer of polish to break the seal, then gently push back your cuticles with a tool.
Foil Wrap: Your fingertips will be wrapped in foil to allow the acetone to work its magic.
Gentle Removal: Once the polish is soft, the technician will carefully scrape it away using a cuticle pusher or orangewood stick.
Hydration is Key: After the polish is removed, your nails will be buffed and nourished with cuticle oil to restore moisture.
Remember: It’s important to avoid peeling off the polish yourself, which can damage your natural nails. Always trust a professional for safe removal!
Informative !
I appreciate you taking the time to read and comment. I’m happy it was informative.”
I know a lot of folks whom I think would really enjoy your content that covers in depth. I just hope you wouldn’t mind if I share your blog to our community. Thanks.
I’m thrilled you found it informative. Feel free to share it with your community!